Cheap Oil Catch Can
There are a whole
bunch of posts on the internet for how to use a air tool compressor filter as a
PCV system oil catch can, but the design I did for my ’96 Cobra is a little
different.
The theory behind the catch can is that it
is like a very wide spot in the vacuum line that runs from the PCV valve to the
intake plenum. Because of the way gasses work, the pressure in the catch can is
relatively lower than the pressure in the line. Humidity (including oil vapors)
in air will condense when the relative pressure drops, and it is even easier for
it to condense if there is something in the flow such as steel wool or some
metal screen for the oil condense onto. The condensed oil will drip to the
bottom of the can for later removal.
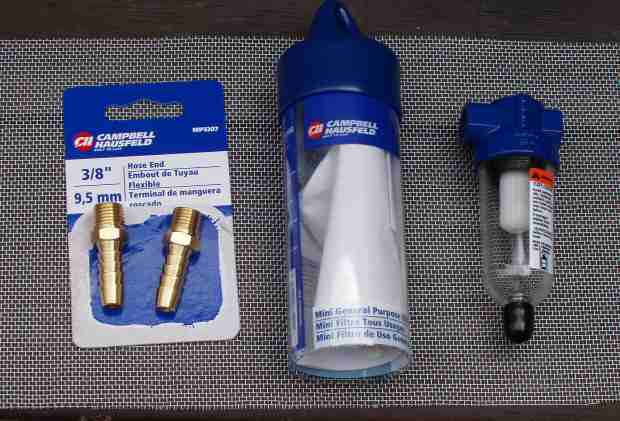
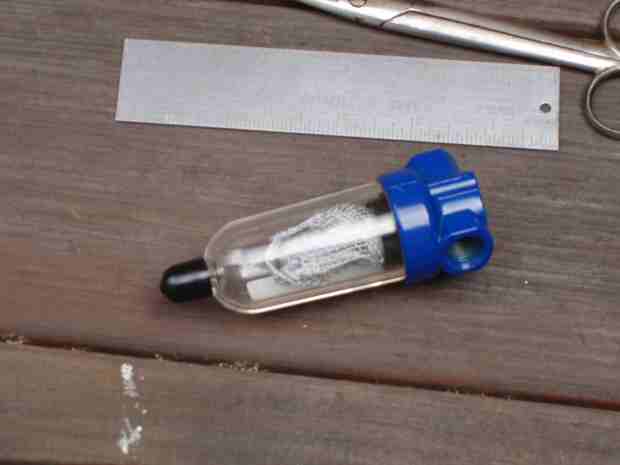
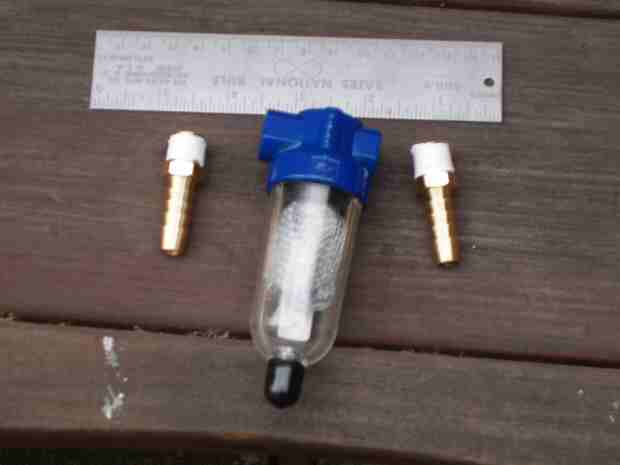
I bought a Campbell Hausfeld #MP5138 Mini General Purpose Filter ($11.99) and a pair of brass hose ends, filter Campbell Hausfeld #MP3207 ($1.99) at Autozone. I got a small sample of aluminum screen from Bull Glass, and I got 3 feet of low pressure 3/8” fuel line from Kragen for $3.60.
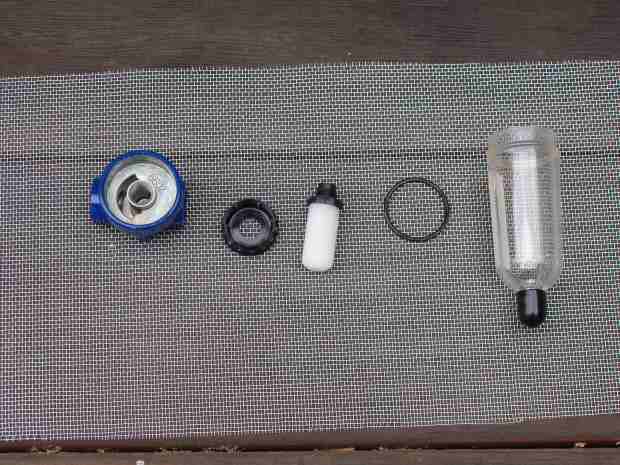
The Mini General Purpose Filter consists of a metal top, a clear plastic bowl, a small screw-in white filter element, a plastic washer gizmo help in place by the filter element and an O-ring for the bowl. The plastic washer gizmo looks like it directs the air as it flows through the filter.
Some people leave the
filter insert in the filter, but many people believe that the filter either gets
full of oil right away and somehow it interferes with the air flow. They have
proven that the filter works better for separating oil without the filter
element in it, than with it present, so I decided to not use the filter element.
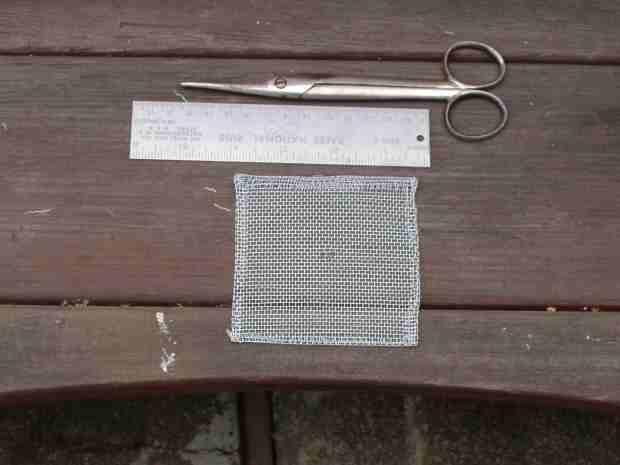
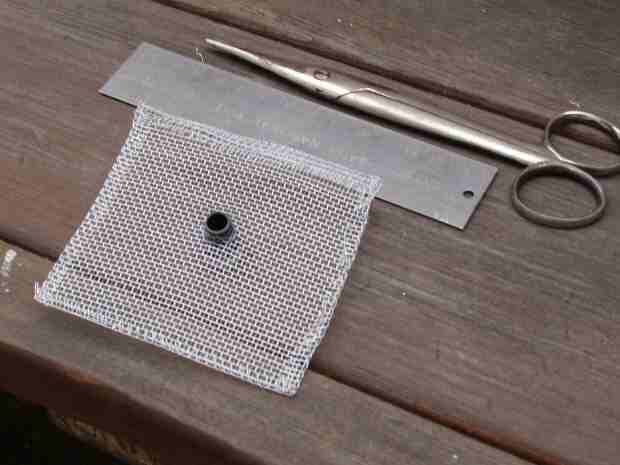
I decided to replace the filter with a wad
of aluminum screen to enable better oil condensation. I cut a 4 inch square
piece of the aluminum screen and folded each edge over and crimped it well
because I don’t like the idea of bits of aluminum wire coming loose and getting
into my intake.
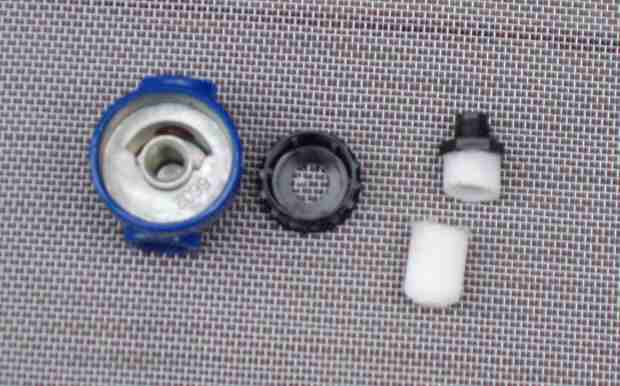
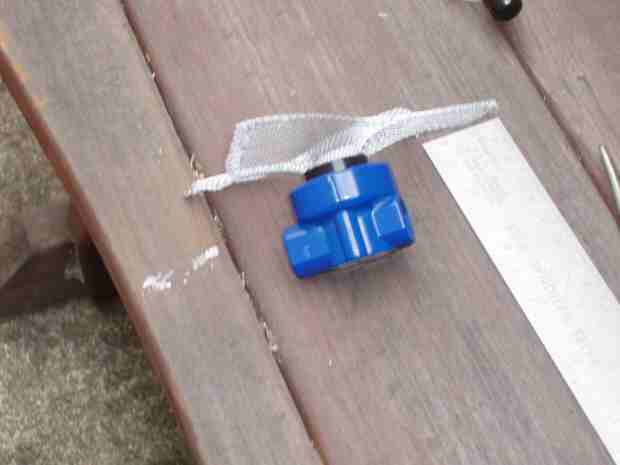
I cut the end off of the white filter element with a hacksaw so that I could use the bottom of the filter as a screw to hold the aluminum screen in place. I deburred the filter element stub so I wouldn’t have bits of filter flying into my intake.
I then cut a small cross in the center of the screen to make an opening for the filter element screw. I crimped those wires over well too.
I put the filter element screw through the screen, through the washer gizmo and into the top if the filter.
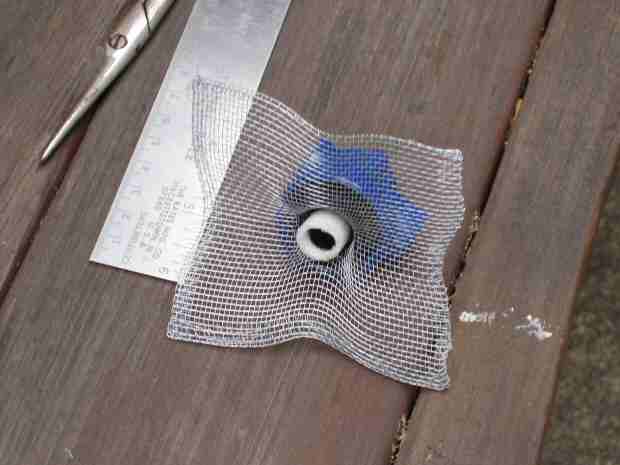
I then folded two of
the corners of the screen to the inside and then folded the other two corners of
the screen over those to make what looks like a screen replacement for the white
filter element.
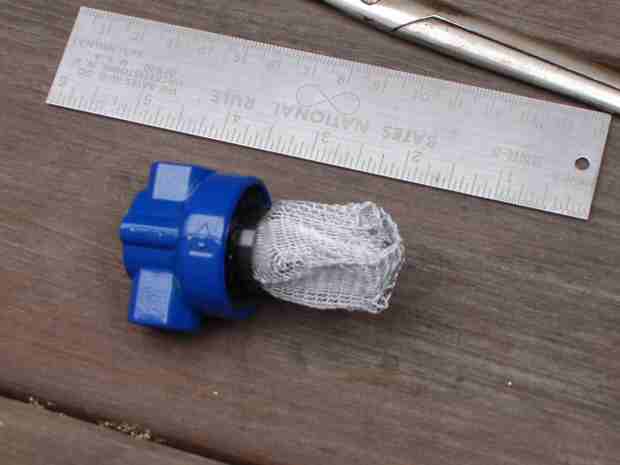
I smashed the screen together so it would
fit inside the bowl and screwed the bowl back on to the filter with the O-ring
sealing the bowl to the filter top.
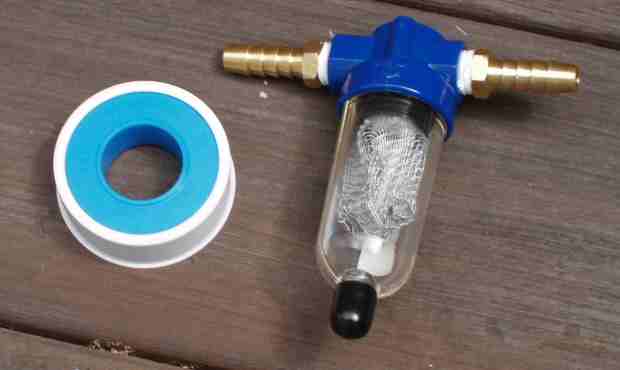
I put Teflon tape on the threads of the brass hose ends, and installed them into the filter top, using a couple of Crescent wrenches to tighten them down well.
Before I installed
the mini catch can, I took the opportunity to run some Seafoam through the PCV
Valve hose to clean the top end of the engine.
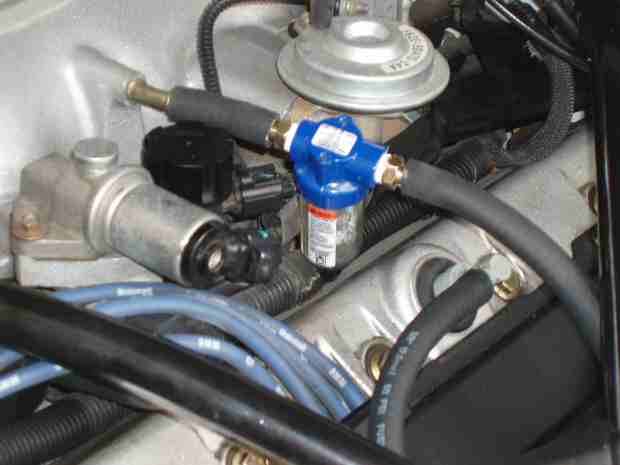
After I blew the Seafoam crap out of the
engine, I then pulled out the stock pipe that ran from the PCV Valve to the
intake plenum. I ran a very short piece of 3/8” fuel line from the intake plenum
to the out line of the mini-filter (be sure to note the flow arrow on the
filter.) I then ran a longer piece of 3/8” fuel line in about a 9 inch loop back
down to the PCV Valve.
This project cost me $17.58.